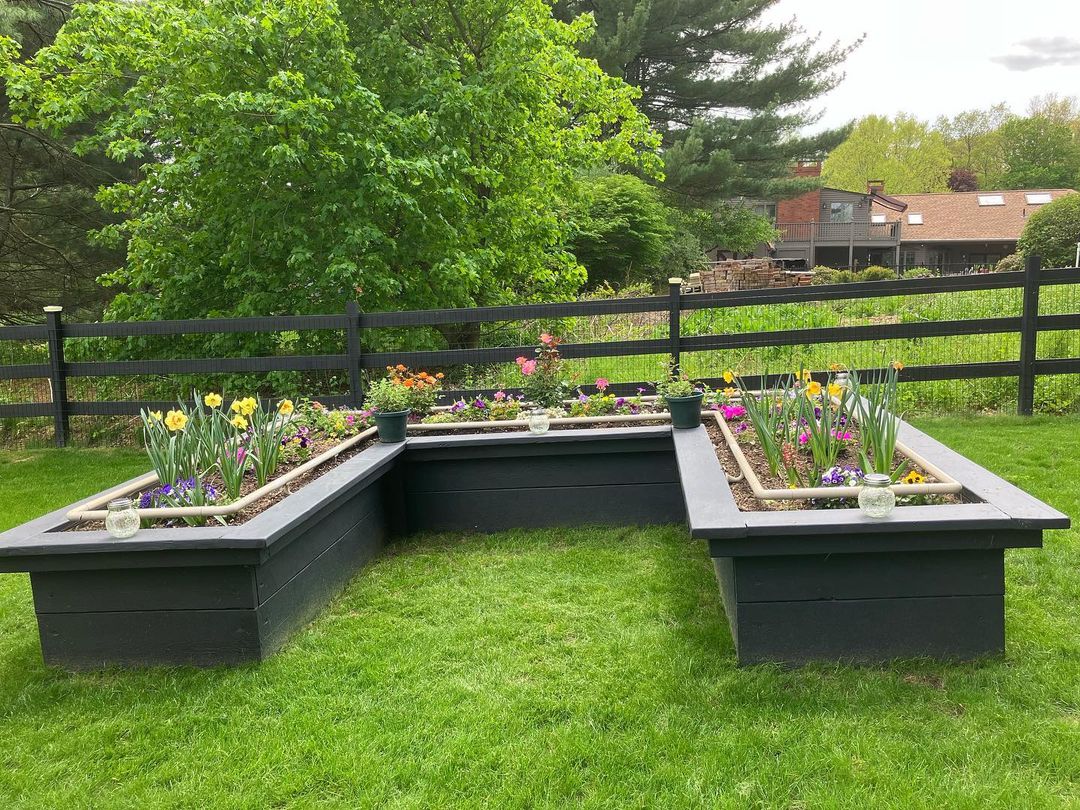
So, you’ve built or bought a beautiful new raised garden bed. Now comes the big question: How do you fill it without spending a fortune on tiny bags of potting soil?
At Thrive Farm, we see many homeowners in Simsbury and across Connecticut make the mistake of filling deep beds entirely with premium soil. Not only is this expensive, but it’s actually not the most “natural” way for plants to grow.
The secret to a high-yielding, self-fertilizing garden is the Layering Method (often inspired by Hügelkultur). By layering different organic materials, you create a sponge-like environment that retains moisture and feeds your plants from the bottom up.
Step 1: The Foundation (Wood Chips)
If your raised bed is 12 inches or deeper, the bottom layer doesn’t need to be high-end soil. Start by filling the bottom 25-40% of the bed with coarse organic material.
Our wood chips are the perfect base layer. As they slowly break down over several years, they provide a steady source of carbon and create air pockets for beneficial fungi. This layer acts as a drainage system while holding onto deep moisture during those dry Connecticut Augusts.
Step 2: The Nitrogen “Bridge” (Green Matter)
On top of your wood chips, add a thin layer of “green” nitrogen-rich materials. This could be grass clippings (herbicide-free!), vegetable scraps, or even thin layers of unfinished leaves. This layer jumpstarts the decomposition process of the wood chips underneath.
Step 3: The Engine (Spicy Compost)
This is where the magic happens. Above your base layers, you need a heavy dose of nutrients. Our signature Spicy Compost is specifically blended to provide the microbial activity your vegetables crave.
Fill the next 4–6 inches with this compost. It acts as the “engine” of your garden bed, providing the essential N-P-K (Nitrogen, Phosphorus, and Potassium) that heavy feeders like tomatoes and peppers need to thrive.
Step 4: The Planting Zone (Lawnsoil)
For the top 4–6 inches—where your seeds and starts will actually live—you want a fine-textured, consistent medium. Our Lawnsoil (a professional-grade topsoil blend) is screened and easy for delicate roots to navigate. This ensures your plants have a stable structure and easy access to water right at the surface.
Step 5: The Protective Blanket (Triple-Shredded Mulch)
Never leave your soil naked! Once your plants are tucked in, finish the bed with a 2-inch layer of triple-shredded mulch.
Mulching your raised beds is critical because these beds dry out much faster than the ground. A fine-textured mulch regulates soil temperature and keeps your “Spicy Compost” moist and active all summer long.
Why the Layering Method Works in Connecticut
In our local climate, we deal with intense spring rains and humid summers. Layering mimics the forest floor. It prevents the soil from compacting into a “brick” and ensures your raised garden beds remain aerated and fertile for years to come.
Stop buying bags and start building soil. Whether you need a yard of compost or a truckload of mulch, Thrive Farm delivers the bulk materials you need to make your garden flourish.